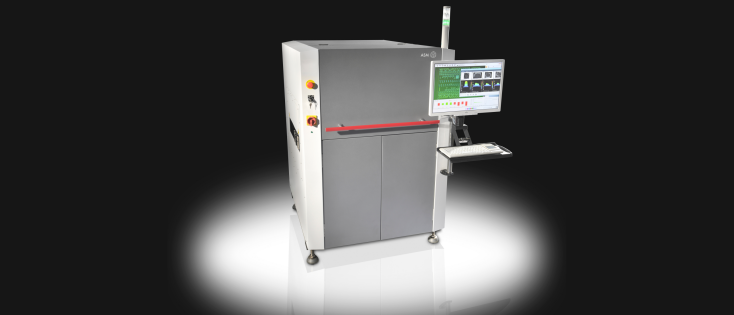
How to set Stencil Printer Parameters correctly?
I frequently notice that customers do not use optimum process parameters in their Stencil Printer for the specific solder paste used and the PCB size they are printing on. Let me give some examples:
Very often an existing program is copied without adjusting the printing pressure, while this should be adapted to the length of the squeegees and those should fit to the PCB size.
Too high print pressure can cause paste bridges and will create under stencil smearing. Too low pressure might cause skips and will leave a film of paste on the stencil. Too long squeegees will bend the stencil over the PCB, causing gabs between the stencil and PCB during printing. This might cause overprinting and under stencil smearing.
Another common made mistake is the use of the same printer settings for different brands of solder paste while the behavior of pasta’s can be very different. Some pastes require/allow higher print speed and separation speed than others.
Most Stencil Printers offer ‘’start-up’’ parameters to allow the solder paste to get in operational conditions but often these are not set correctly, resulting in poor printing results at the start of a production run.
In some cases wrong printer settings are compensated with more frequent under stencil cleaning wipes, but this will have negative side effects. With a little bit more attention to the Printer Settings, the printing results will be much better and more stable, resulting is less misprints and better solder joints. And the amount of underwipe paper and cleaning agent will be reduced and you can win on process cycle time.
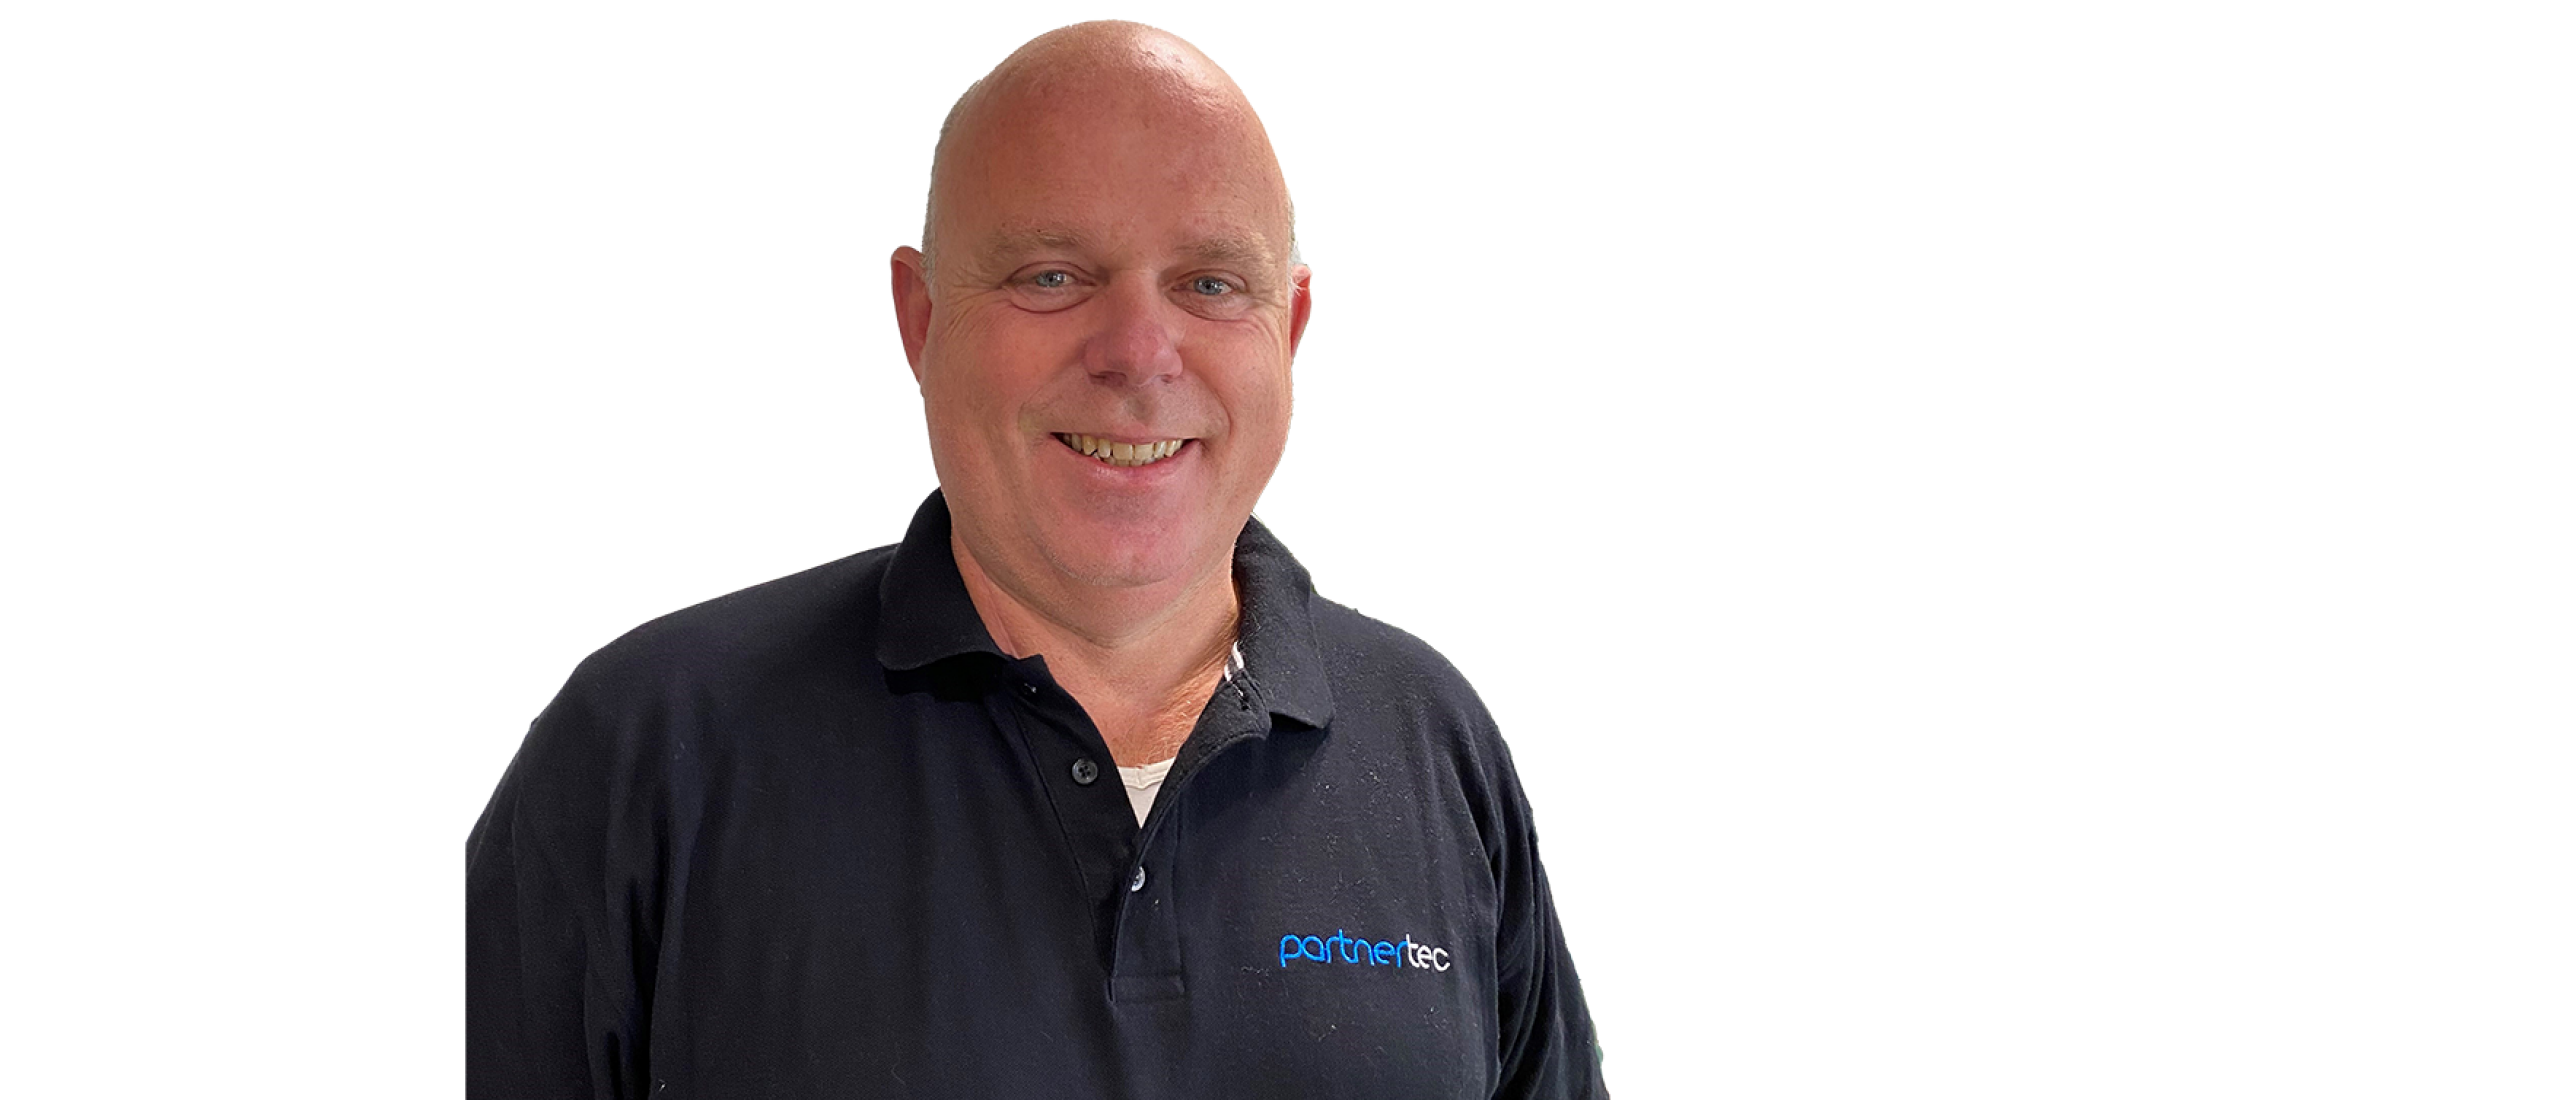
If you need some help you may always contact helpdesk@partnertec.nl for recommendations or for on-site support to set your Stencil Printer correctly.
Pieter Verheggen
Partnertec ServiceTeam